A kit is a set of products that are sold together, that is, a product made up of several other products.
A kit may or may not allow for its components to be sold separately. See the differences below:
- Kit: The products included in a kit may only be sold as a kit, rather than separately. If the components were configured to display on the site, these would be presented normally in the category, brand, and search results page, as well as on any other aisle.
- Kit Look: In a look kit, all products can be found on the website and sold separately from the kit, which means that even on the page of the look kit product, you can purchase the items separately or together. See How to assemble a Kit Look for more information on how to set up this type of kit.
Creating products
To set up the kit, all its products – that is, its components – must have already been created. See the example below:

After creating all component products, we can move on to defining the kit’s settings.
- Create the product that will become the kit. See how to create a product in Adding products.
- Access the settings of the SKU that will become the kit. See how to create the SKU in Adding SKUs.
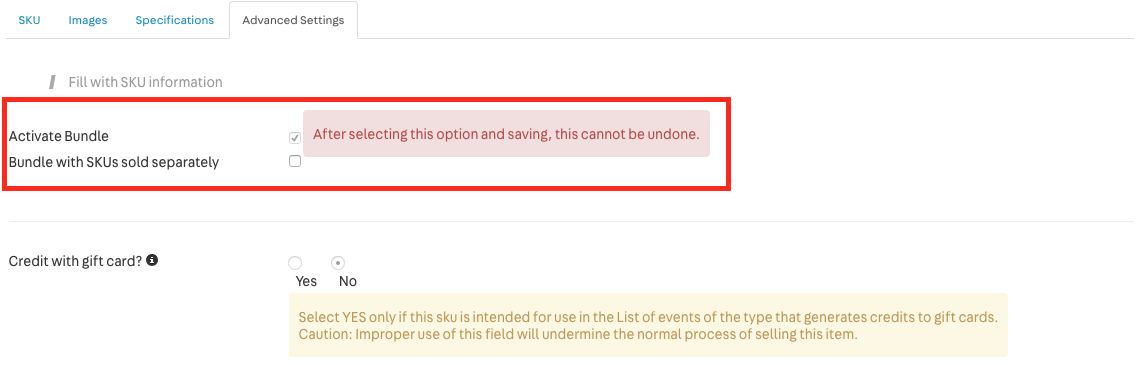
- Click on the Advanced Settings tab.
- Click on
Activate Bundle. - If you would like a look kit, click on the option Bundle with SKUs sold separately.
- Click on
Save.
Associating components
After the kit product has been created, you must associate the components, according to the steps below:
- After creating the SKU, you will be redirected to the SKU preview screen. In case you have signed out, access the product page > SKU.
- Click on the
Editarrow. - Click on the Kit option.
- Click on the
New Bundlebutton. - Inform the SKU ID you intend to associate as a component of the kit.
- Inform the quantity of SKUs per kit, that is, the quantity of a given SKU in each kit.
- Enter the SKU unit price inside the kit.
- Click on
Save.
Kit Weight
The weight of the kit will be made up by the sum of the weight of its components. Editing the weight directly on the kit page will have no effect on your store. Shipping rate simulations follow the same rule.
Inventory
The kit’s inventory will always be the inventory of its components. In other words, it is not possible to enter inventory merely in the kit, but rather in each and every independent component, in order to update the kit’s inventory. You can access this information in your VTEX Admin in Catalog > Inventory > Inventory Management.
Since the SKUs that make up the kit must be sold together, the kit overall inventory will be equal to the SKU which has less inventory items. This is as such due to the fact that when a component is out of stock, the kit cannot be purchased.
Example: A kit has two components. Consider Component 1 has 30 units in stock, while Component 2 has 3 units in stock. As a result, only 3 kits will be available for sale.
Kit components can be in different stocks, as long as they are shipped from the same dock. If they do not leave through the same dock, the entire kit becomes unavailable.
This is not applicable to the look kit, since it may be sold with the components that are still in stock, without the need for all the components to be in stock.
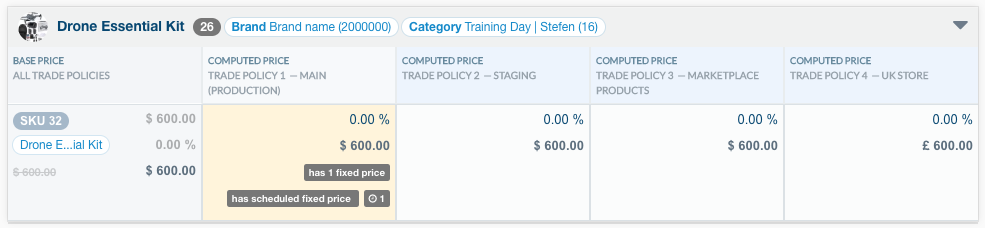
Price
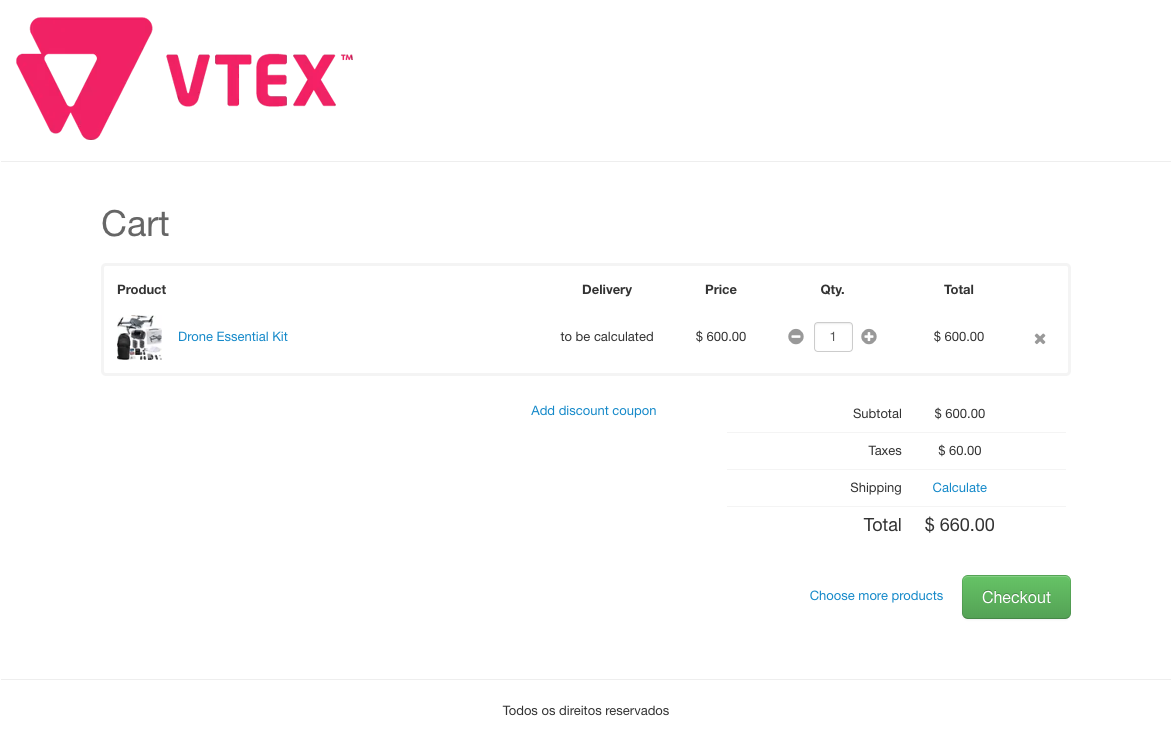
The price of the kit is updated automatically after changing the unit value of any of the components, on the registration page of the SKU components of the kit, in the Catalog module. The final price will be the sum of the components' values.
You may only change the final price of the kit by directly accessing the pricing system without updating the components. As such, the value of the component will only be used to assess the sales value between components, ascertaining the price of each individual product in that specific order.
Please note that any change in any component will generate a new final price, updating what had been previously registered.
Merely changing the final price will not update the price of the components.