The Checkout customizations covered in this article are made using the Checkout UI Custom app. Before configuring it in your app, check if the app is installed in your store or install it as explained in the Checkout UI Custom article.
Customizing the Checkout
In the VTEX Admin, go to Store Settings > Storefront > Checkout UI Custom or type Checkout UI Custom in the search bar at the top of the page.
The app's customizing features can be found in the following Admin tabs:
Layout
In this tab, you can configure the following:
-
Payment option as accordion: by enabling this button, the payment methods are displayed in a cascade (accordion) if up to five payment methods are available. When disabled, the payment methods will be displayed in side tabs.
-
Simplified shipping date: by enabling this button, the user can view the delivery estimate in date format (e.g., "Monday, 09/18/23"). When disabled, the data provided will be limited to an estimate of the delivery time in days (e.g., "up to 5 working days").
-
Show item unit price: by enabling this button, the user will see both the unit price of each product and the total amount for that product based on the product's quantity. When disabled, only the product's unit price will be displayed.
-
Show Notes field: by enabling this button, a box will be displayed for the user to add additional comments to the order, such as a birthday message if the product is a gift or a comment about the delivery. When disabled, this box will not be displayed.
-
Hide email step: by enabling this button, the option to automatically enter information via email is disabled. When disabled, the contact information must be entered manually.
-
Google address form: this is an address form integration with Google (beta). By enabling this button, when the user enters the address, autocomplete suggestions will be offered. Selecting one of these suggestions will automatically complete the address fields.
-
Text size: it allows you to change the font size (in pixels) in the Checkout.
-
Border radius: it allows you to customize the rounding format of the outer border (in pixels) in the Checkout.
-
Button border radius: it allows you to customize the rounding format of the button border (in pixels) in the Checkout.
-
Text field height: it allows you to customize the width (in pixels) of the text fields in the Checkout.
-
Max. wrapper width: it allows you to set the maximum width (in pixels) of the information displayed in the Checkout.
-
Container border: it allows you to configure the type of border for Checkout sections.
-
Font family: it allows you to configure the font types used in the Checkout.
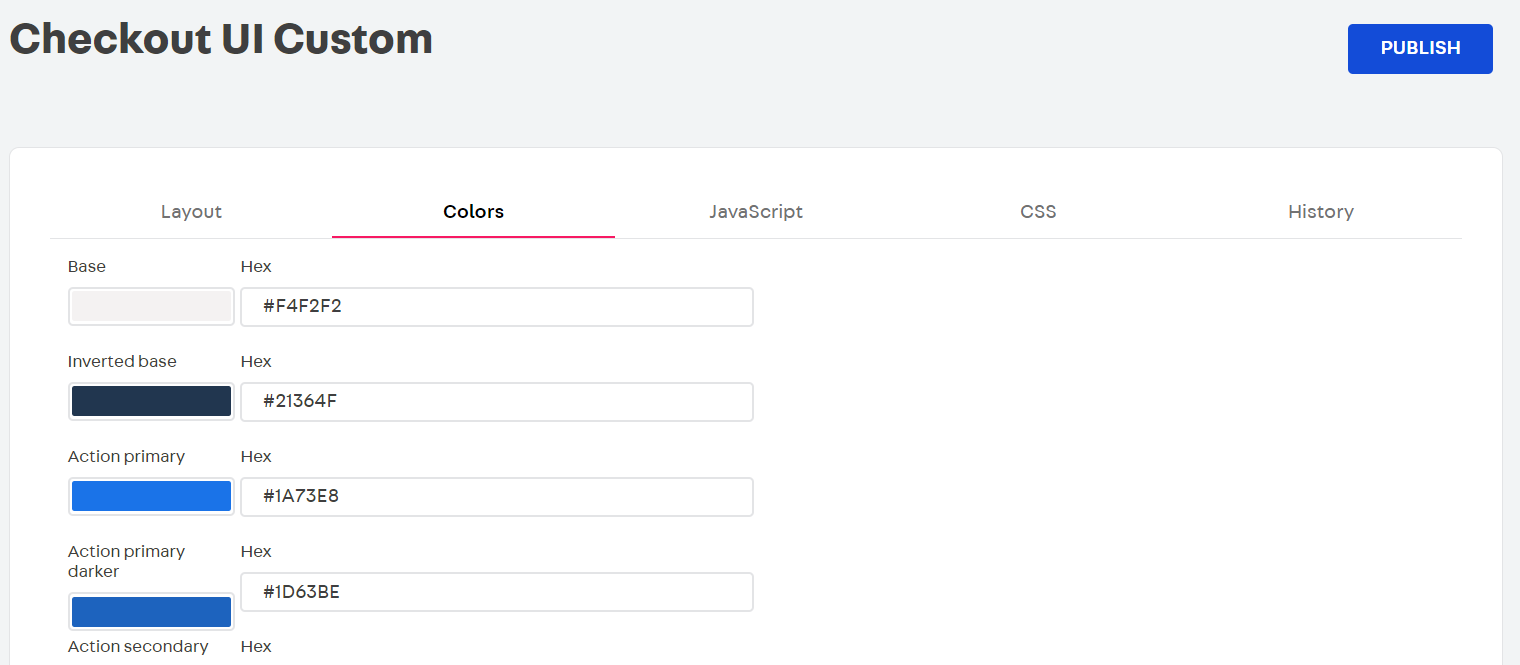
Colors
The Colors tab allows you to customize the checkout colors in your store, including backgrounds, buttons, text, and more. This standardization ensures consistent design.
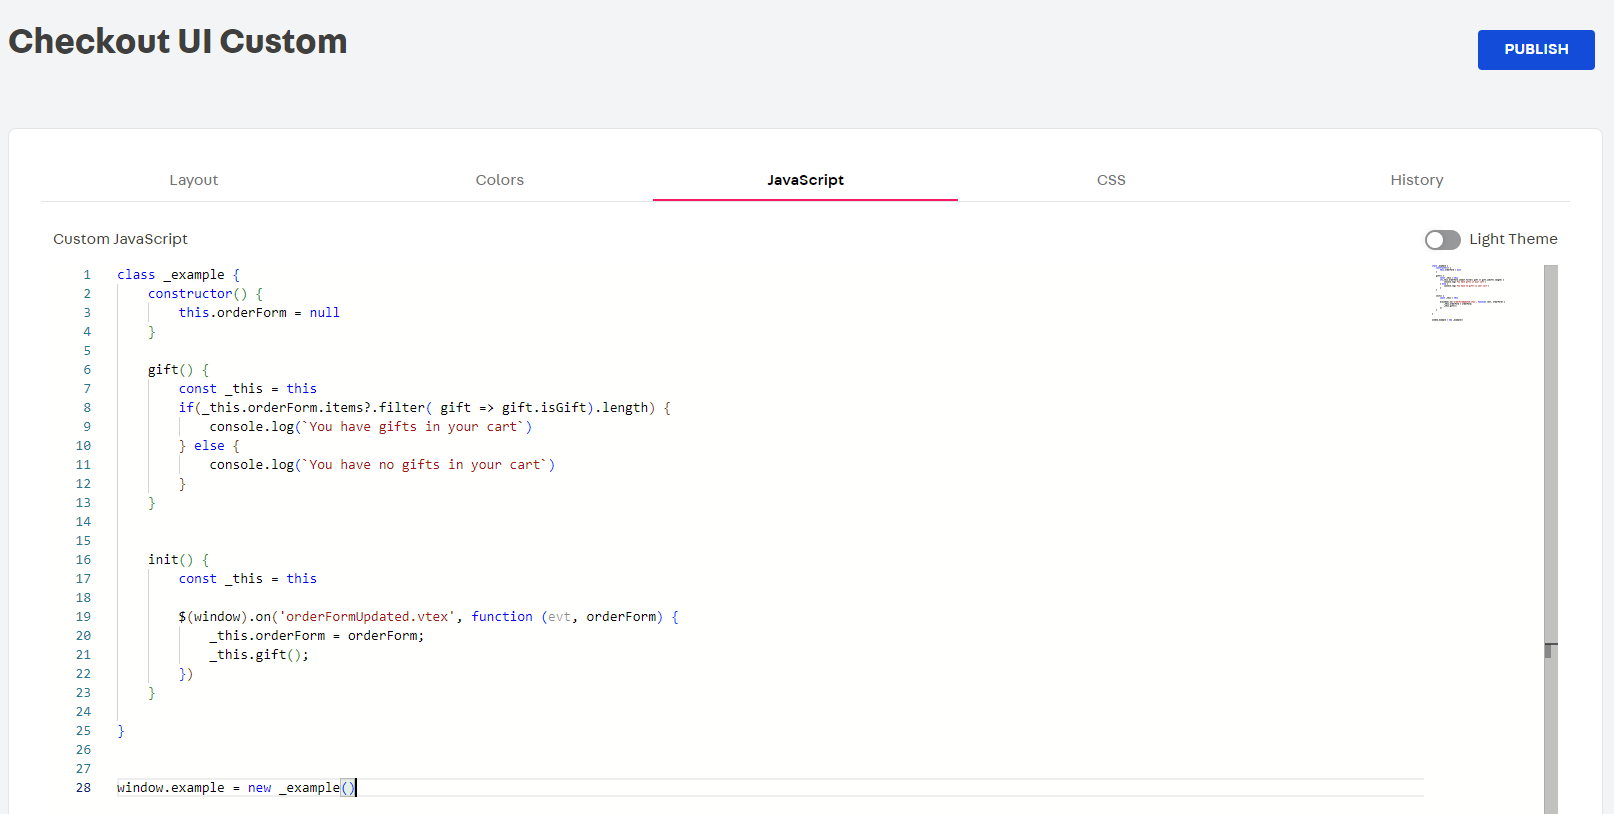
JavaScript
The JavaScript tab adds an additional layer of customization to the interface by allowing you to add scripts.
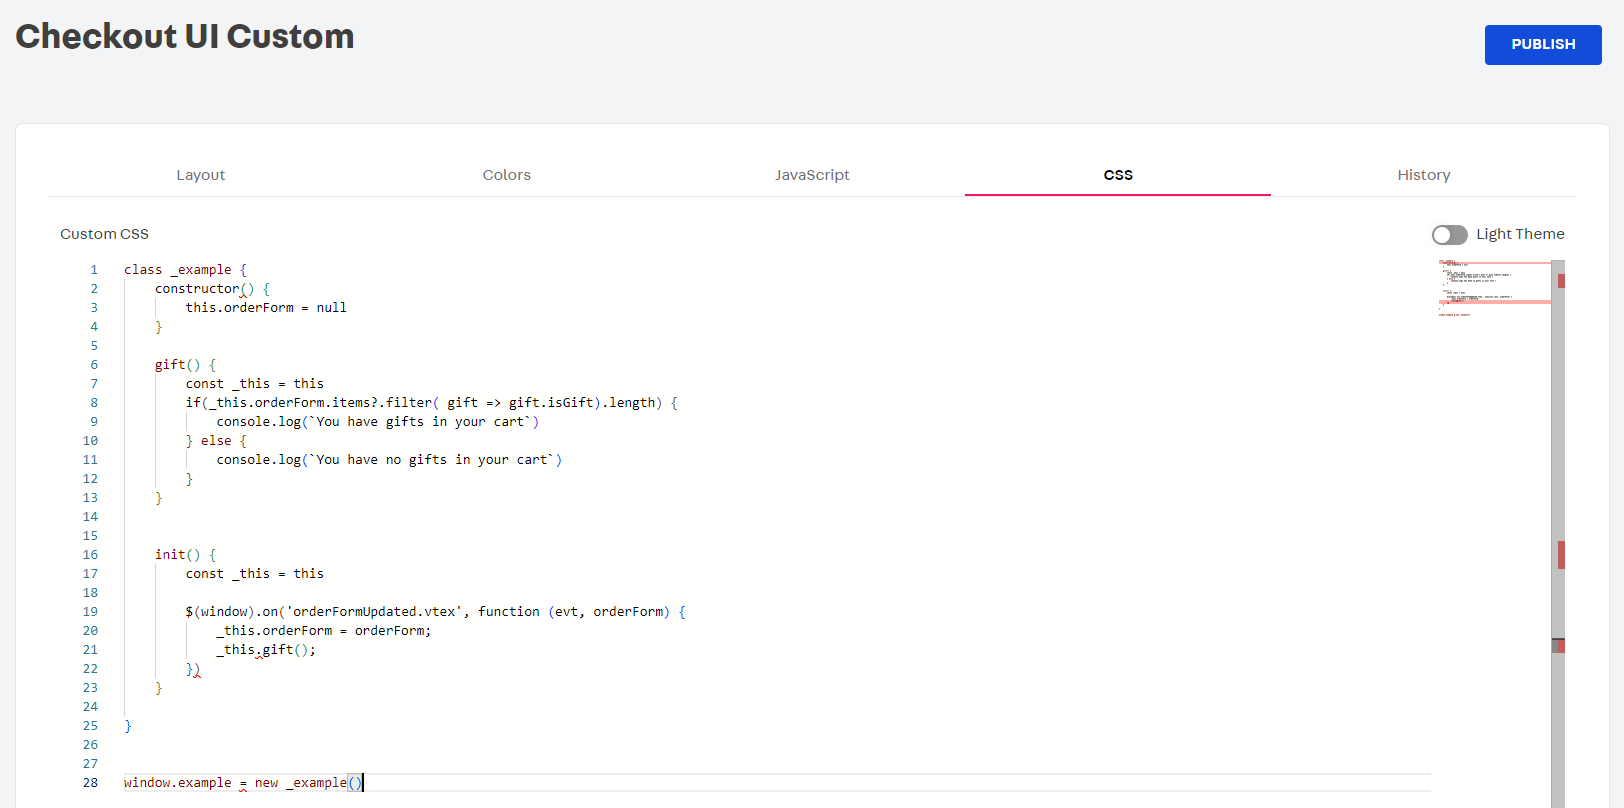
CSS
The CSS tab allows the store layout customization by adding CSS code.
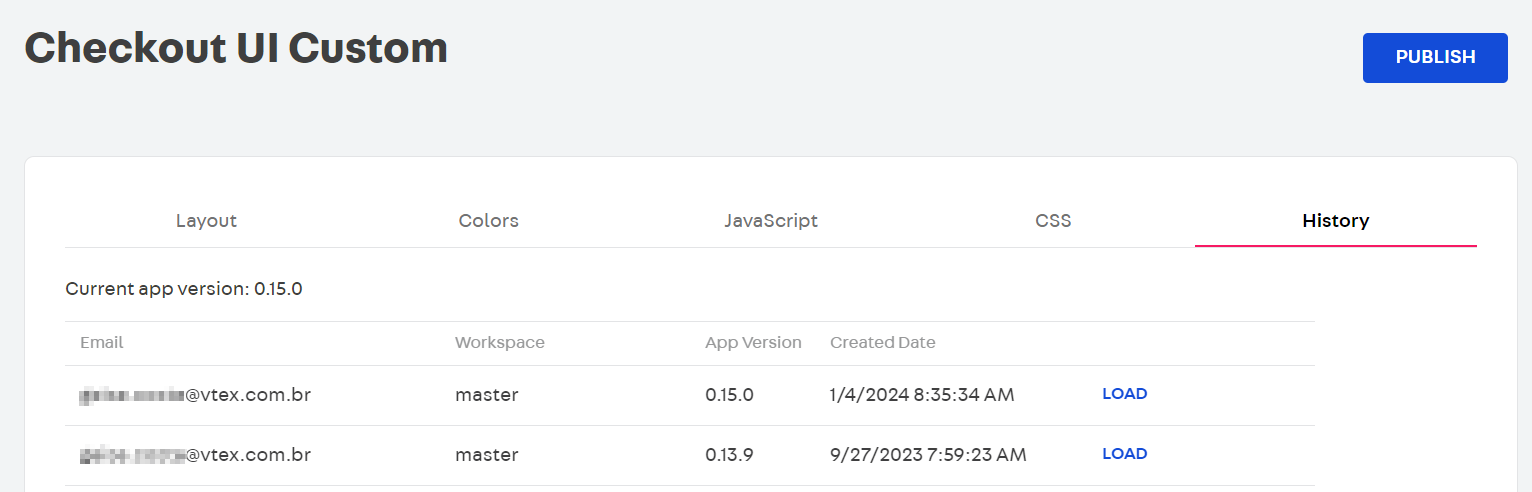
History
It allows you to view and restore previously created and published customizations.
To ensure that your configuration is successfully applied, complete the necessary settings and click Publish.