There are two ways to configure collections: through the Legacy CMS Portal or the Collections Beta module. This article is about how to configure collections through the Legacy CMS Portal.
Follow the steps below to add a new collection:
- In the VTEX Admin, access Storefront > Layout.
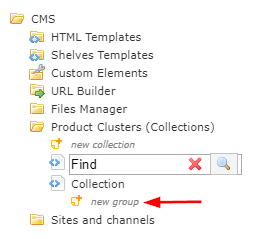
- In the CMS folder, click on Product Clusters (Collections).
- Click on New Collection.
- Fill out the Collection form fields. For more on the meaning of each one of these fields, read our article on how to fill out new collection fields.
- Click on Save Product Cluster.
When the number of created collections surpasses twenty, those exceeding that number can be found through the search field on the admin interface. Search by the name of the collection you want to find.
Choosing the products that will make up a collection is done by clicking on New Group in the desired collection, creating a group.
Before choosing which products to add to a group, you will need to give it a name and specify which type the created group falls under.
Group Types
There are only two possible values for a group type: Inclusive or Exclusive. An inclusive group includes its products in the collection to which it is linked. Meanwhile, an Exclusive group does the opposite, removing its products from a collection.
For example, we have a collection called Cellphones, comprising two groups: group A is an Inclusive type while B is an Exclusive type. The products belonging to this collection will be the result of group A products minus group B products.
This logic is used for any number of groups created within the same collection. Exclusive group products will always be subtracted from any Inclusive type groups, as follows:
Products comprising a collection = (A+B) - (C+D)
Of which:
- Groups A and B are type Inclusive
- Groups C and D are type Exclusive
To this end, the first group that is created in any collection must necessarily be type Inclusive.
Be mindful of the set group type. When adding products to an Exclusive group type, for example, these will not be added to a collection due to the nature of the group.
Selecting Products
In a group, you can select a product based on the following:
- Department, Category or Subcategory
- Brand
- SKU
- Launch Date
You can select more than one of the options above to achieve a specific scenario. In such cases, only products falling within the intersection of both options will be included in the group.
For example: When selecting a category A and a brand B, only products pertaining simultaneously to this category and brand will be included in the group. Category A products pertaining to brands other than B will not be part of the collection. The same applies for brand B products of other categories.
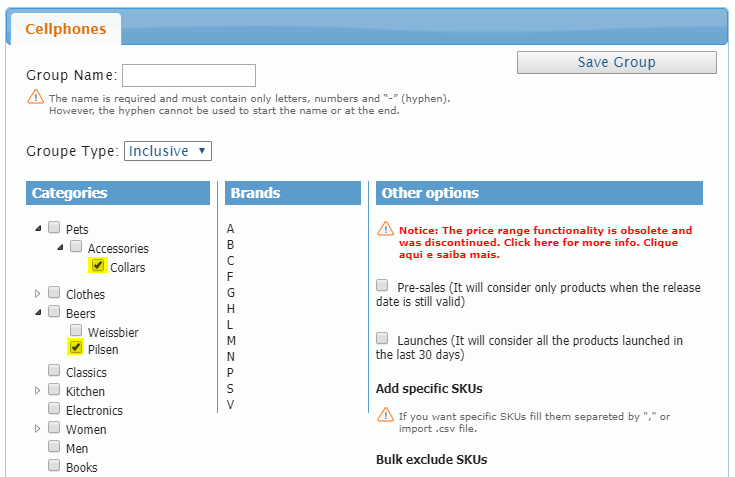
Products by Department, Category or Subcategory
To add the products of a specific department to a group, select the desired department and click on Save Group, as shown in the image below.
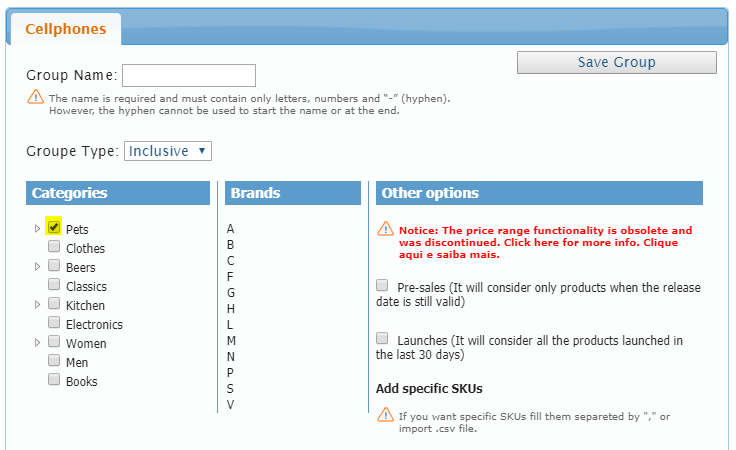
The same applies for products of a specific Category or Subcategory.
Product by Brand
To create a group containing products from one or more brands, select the desired brand from the corresponding list.
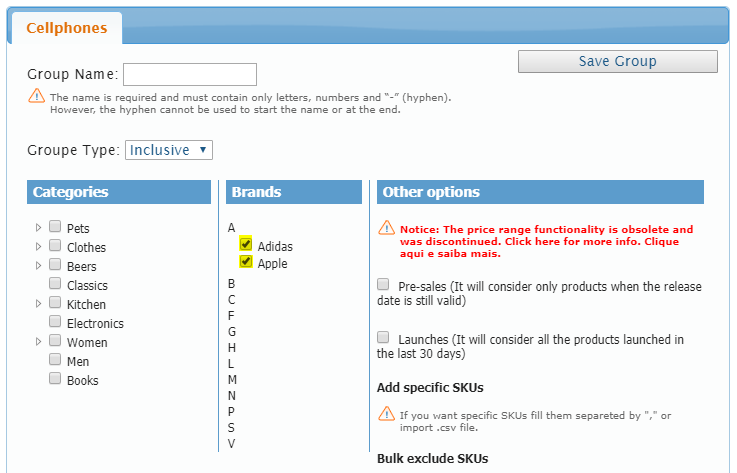
Brands are displayed in alphabetical order. When clicking on the first letter corresponding to the desired brand, the list expands and displays the existing brands.
Products by SKU
Manually
When adding a SKU to a group, the product to which it is linked is also added. If the product is linked to more than one SKU, adding one SKU would also add all other SKUs to the group.
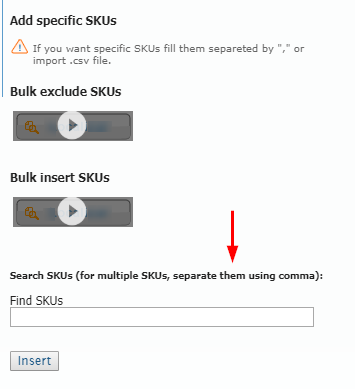
In the find SKUs field, you can type in as many SKU IDs as needed, separating each one by a comma.
Ex.: 200004,200009,200005
To remove an SKU from the list, click on the red button next to it.
When the number of listed SKUs surpasses ten, a page control becomes available.
By spreadsheet
Get the file template for adding SKUs to or removing them from a collection here.
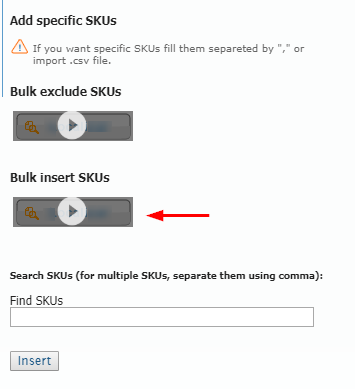
Bulk Upload
You can Bulk insert SKUs by importing an .xls format spreadsheet to list SKUs that will be part of a group.
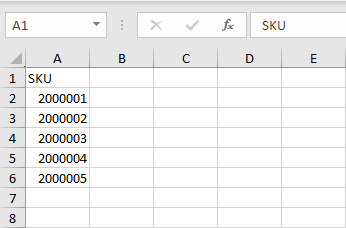
In the imported spreadsheet, all SKU IDs must be listed in the first column, with a header, as shown in the example below:
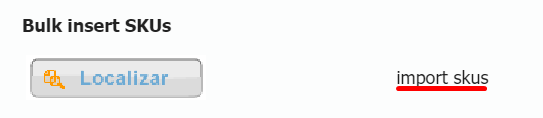
After selecting the desired spreadsheet, click on the Import SKUs option to sent the information.
Bulk remove
To avoid having to remove SKUs one at a time, you can use the import function of a spreadsheet to bulk remove them.
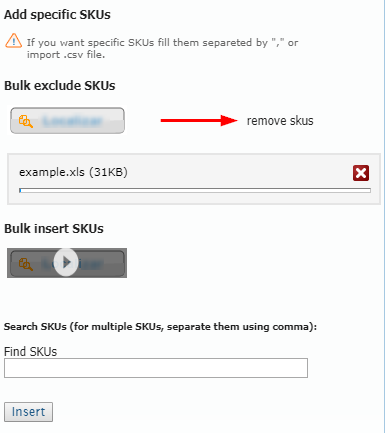
In this specific case, the SKUs listed in the imported spreadsheet will be excluded from the group. Do this by clicking on remove SKUs after the file has been loaded.
Disabled SKUs will not be removed or added, even if they appear as listed in the spreadsheet.
Products by Market Launch date
In the Other options section, the Pre-sales and Launches options are add-ons to choosing products by Category, Brand or SKU, meaning that these flags will only work if you have previously selected them.
Note that you can only select one of the two options. Should you want both add-ons, create two groups and configure each one with the respective option.
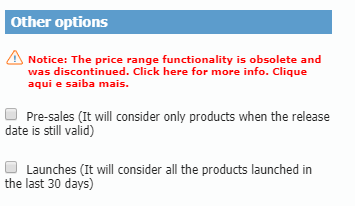
Pre-sales
In order to create a product collection that has not been launched yet, select the Pre-sales option. The system considers the launch date of all products to be one day after the present date, according to the Market launch date field in the product file.
Launches
The Launches option allows you to create a recently launched product collection. Upon selecting this option, the system considers all of the products that were launched within a 30-day interval prior to the present date. The launch date taken into account is also the same one set in the Market launch date in the product file.
To know more about how to exclude a product collection, read our article on how to delete collections.