Fields are attributes of a document. Before you configure them, you must understand the concepts of data entities in our guide.
The process is done in two modules, Dynamic Storage and CRM, described below. Dynamic Storage is an environment in which fields are created, while CRM is where this information is viewed.
Dynamic Storage
Dynamic Storage is an environment in which you can set up data structures.
This environment allows you to create the field as you would in a database, but with a more user-friendly and clearer interface (there is no need for a script).
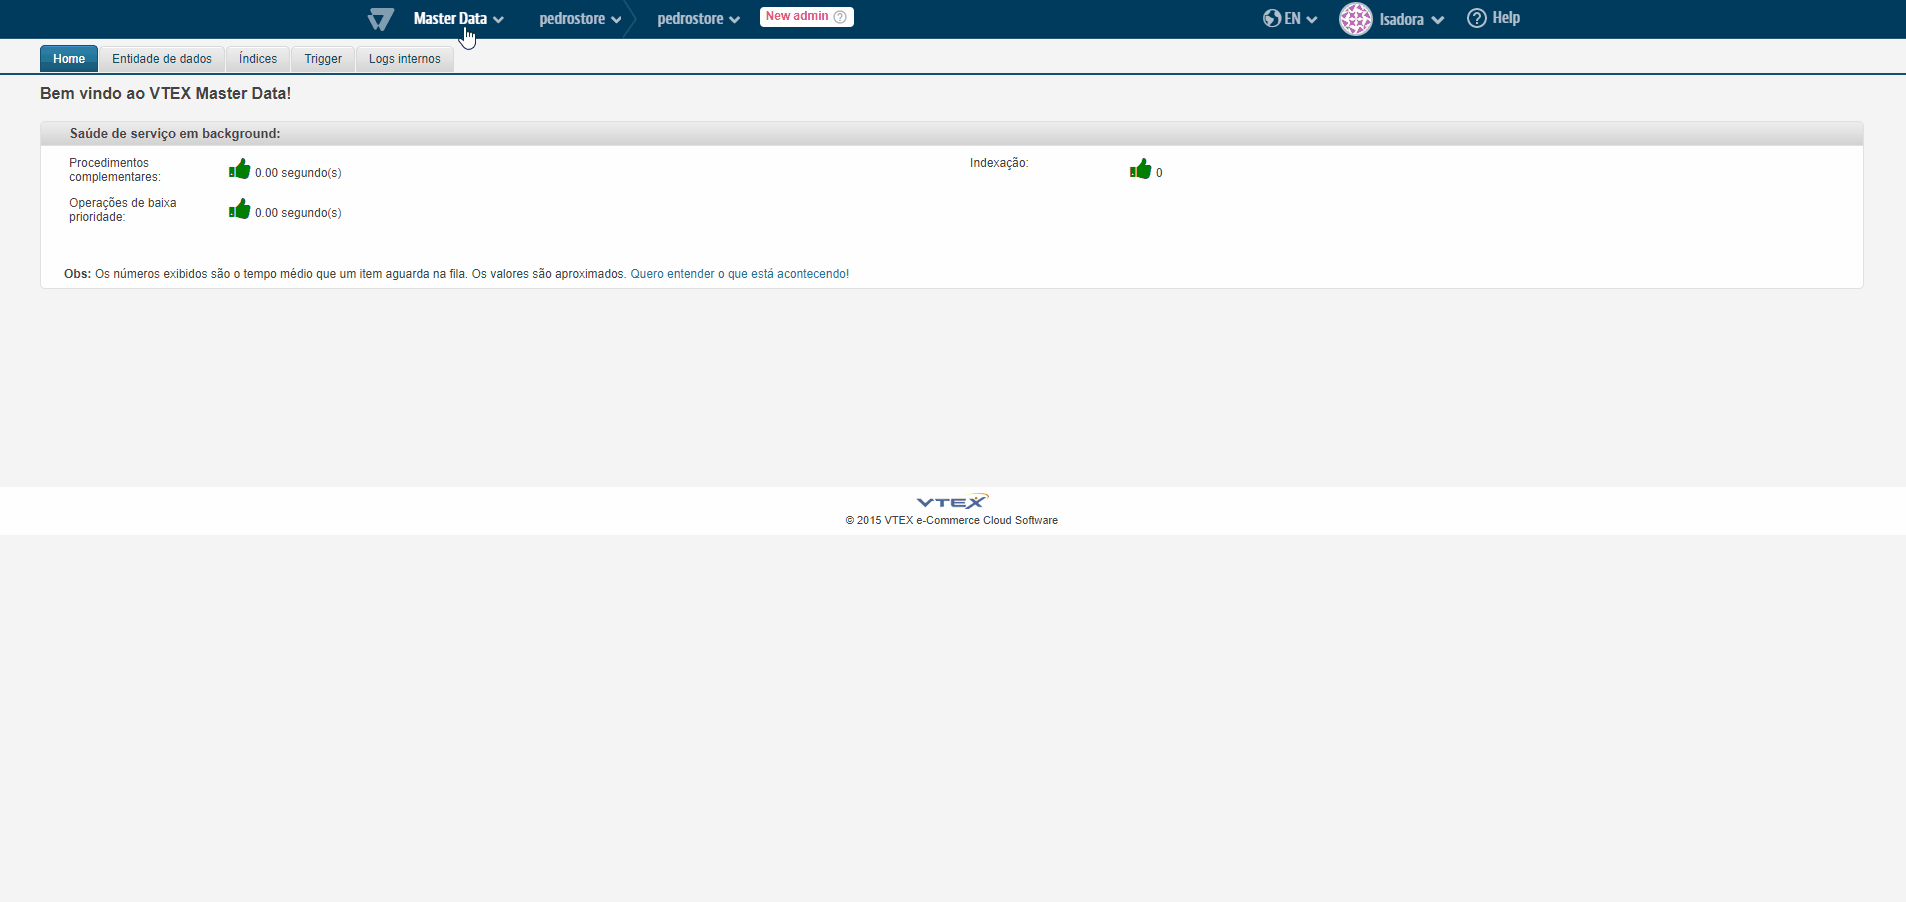
To access it, you can take the traditional route through VTEX Admin to Master Data.
Follow the step-by-step below:
- In the VTEX Admin, access Store Settings > Storefront > Master Data.
- Click on Create Applications.
- Under Settings, click on Data Structure.
- Select the Data Entities tab on the page.
- Find the entity in which you wish to create a field.
- Click on the pencil icon to start editing.
- Click on one of the New Field buttons.
- Fill out the Name - without spaces or special characters -, Display Name and Type values.
- Click on the gears icon to set up the other field options.
- If required, set up the desired alternate options in General Settings, Search and Filter Settings, Custom field type settings.
- If required, fill out the Description field.
- Click on Save.
More information about General Settings and Search and Filter Configurations can be found in our article on Creating a data entity, subsection How to set up.
You will then return to the main Data Entity page. To complete the process, you need to publish the field. Locate the entity line in which the field was added and click on the disk icon.
Afterwards, the following message is displayed:
"Successfully published. If fields are configured as Filter or Searchable, you need to click on the reindexing button."
If this were the case, click on the arrow icon in the edited entity line in order to reindex the entity, thus successfully creating the field.
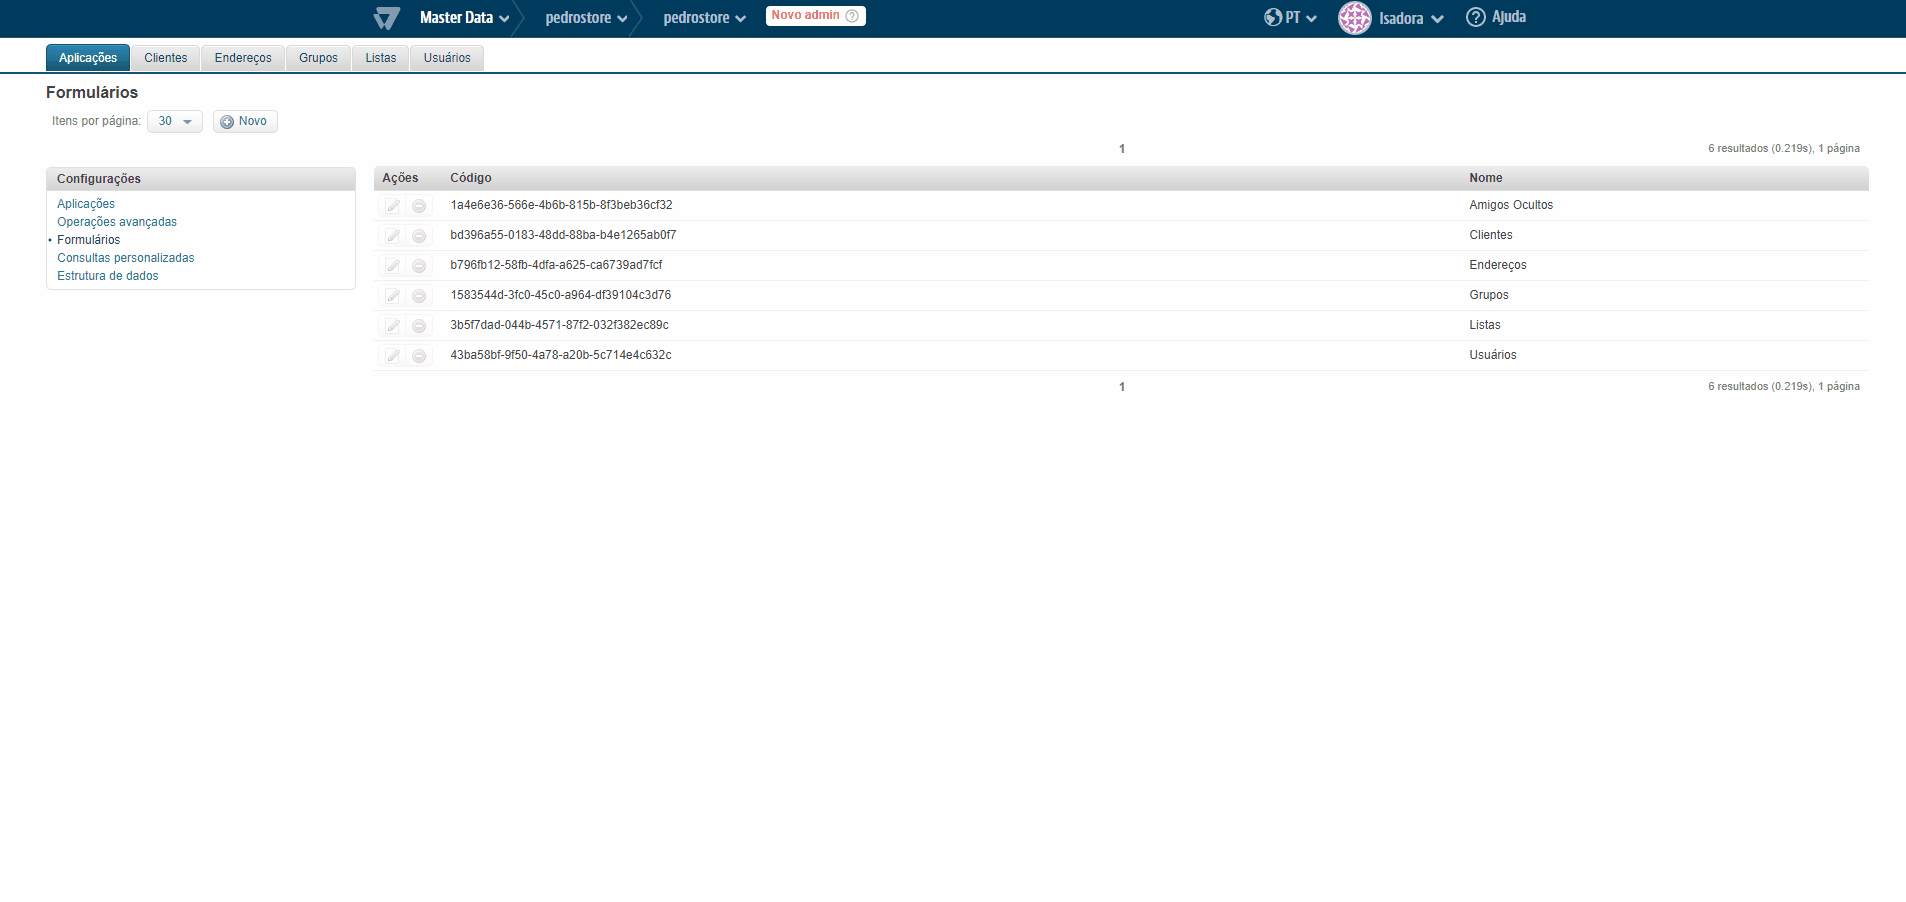
CRM
If you want the recently created fields to be displayed on the form, access CRM - an environment where such information is displayed.
To achieve this, follow the instructions below:
- On top of the page, click on Master Data;
- Select the Master Data option;
- Next to Profile System, click on the gears symbol;
- On the desired form, click on the pencil icon to start editing;
- In the Listed Fields tab ("campos da listagem"); select the fields that you wish to display in the listing;
- Select the Layout Blueprints tab ("Schemas de layout");
- Drag the field from the list entitled "available fields" to the columns entitled "column Fields 1" or "column Fields 2";
- In the lower part of the screen, click on the blue Save button.
Done! The fields will be displayed on the form.