Placeholders allow the store to insert four types of elements on its page:
- Banner
- DHTML Banner
- Collection
- HTML
In practice, a placeholder is a configurable snippet of code that meets store-defined conditions.
For example, you could insert a placeholder on the homepage and set it as a banner; and then pick three different images for this banner, each activated on a specific date range.
Inserting the placeholder in the template
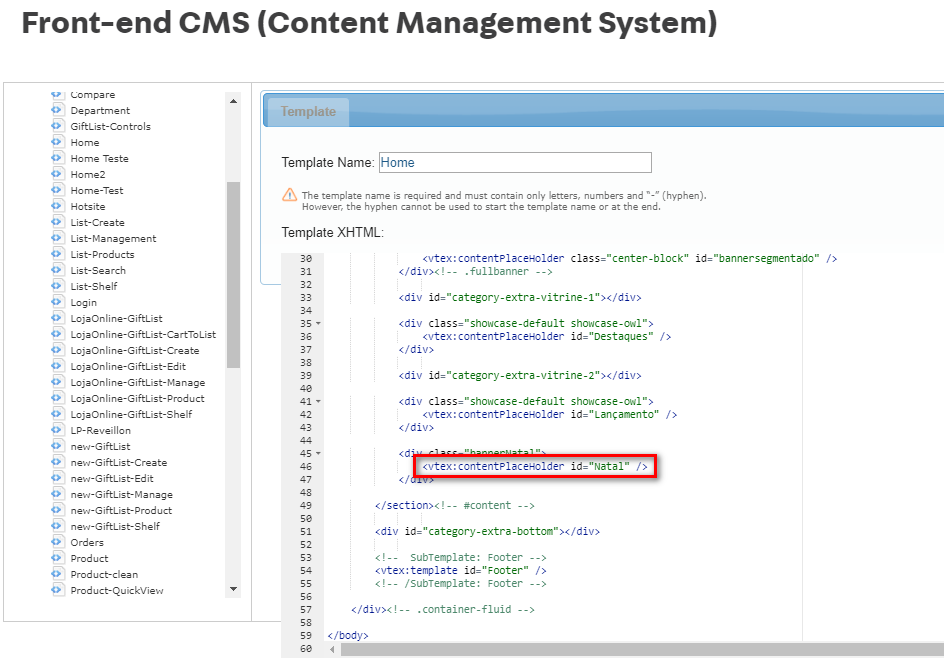
First of all, to create a new placeholder, you need to insert the control that will define it in the template.
This is the placeholder control: <vtex:contentPlaceHolder id="" />
It creates a configurable element in the part of the code where it is inserted.
It is important to enter an id value. It will be the identifier of that placeholder in the system.
Configuring the placeholder
Once the placeholder control has been inserted into the template, you can configure it in the settings of the layout that uses this template.
- Open the layout and then click on the Settings tab. The new placeholder should appear there, with the name equal to the id value defined in the control. For now, this placeholder is empty, meaning there are no objects inside it.
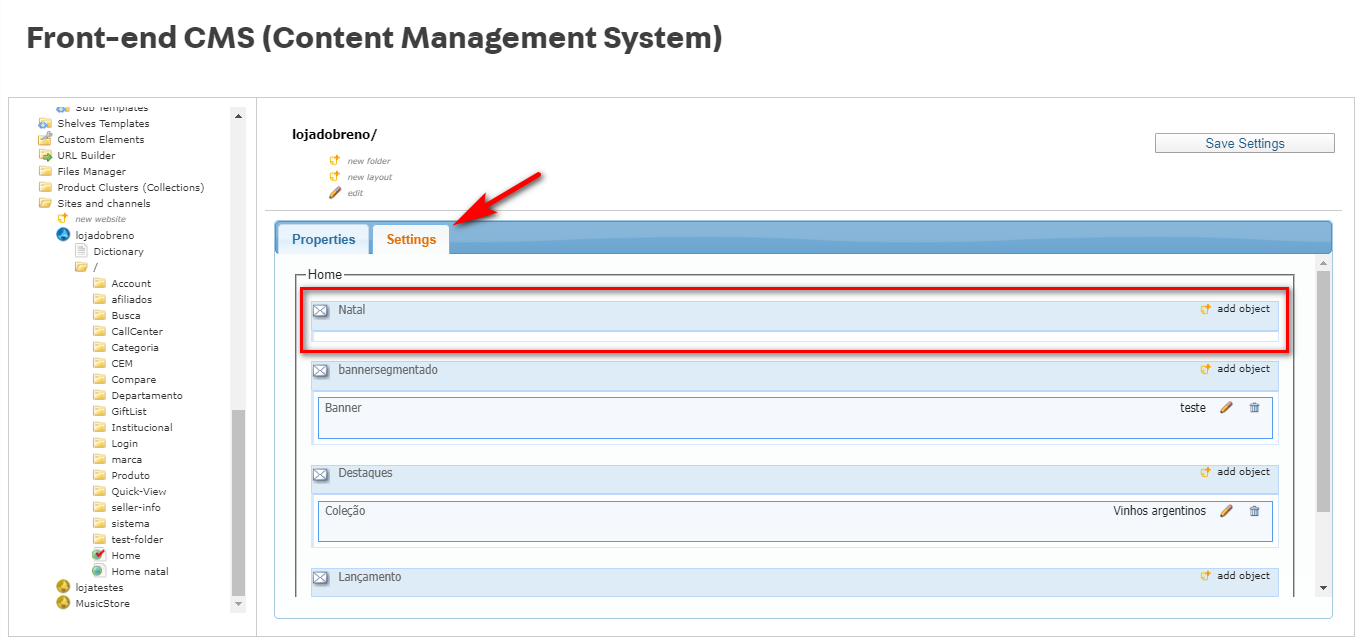
- To insert an object, click on add object.
- Then choose the object type and click on the Add button.
- Finally, click on the Save Settings button.
You can now edit the object inserted in the placeholder.
To do this, click on the pencil icon inside the object, and then click on add content.
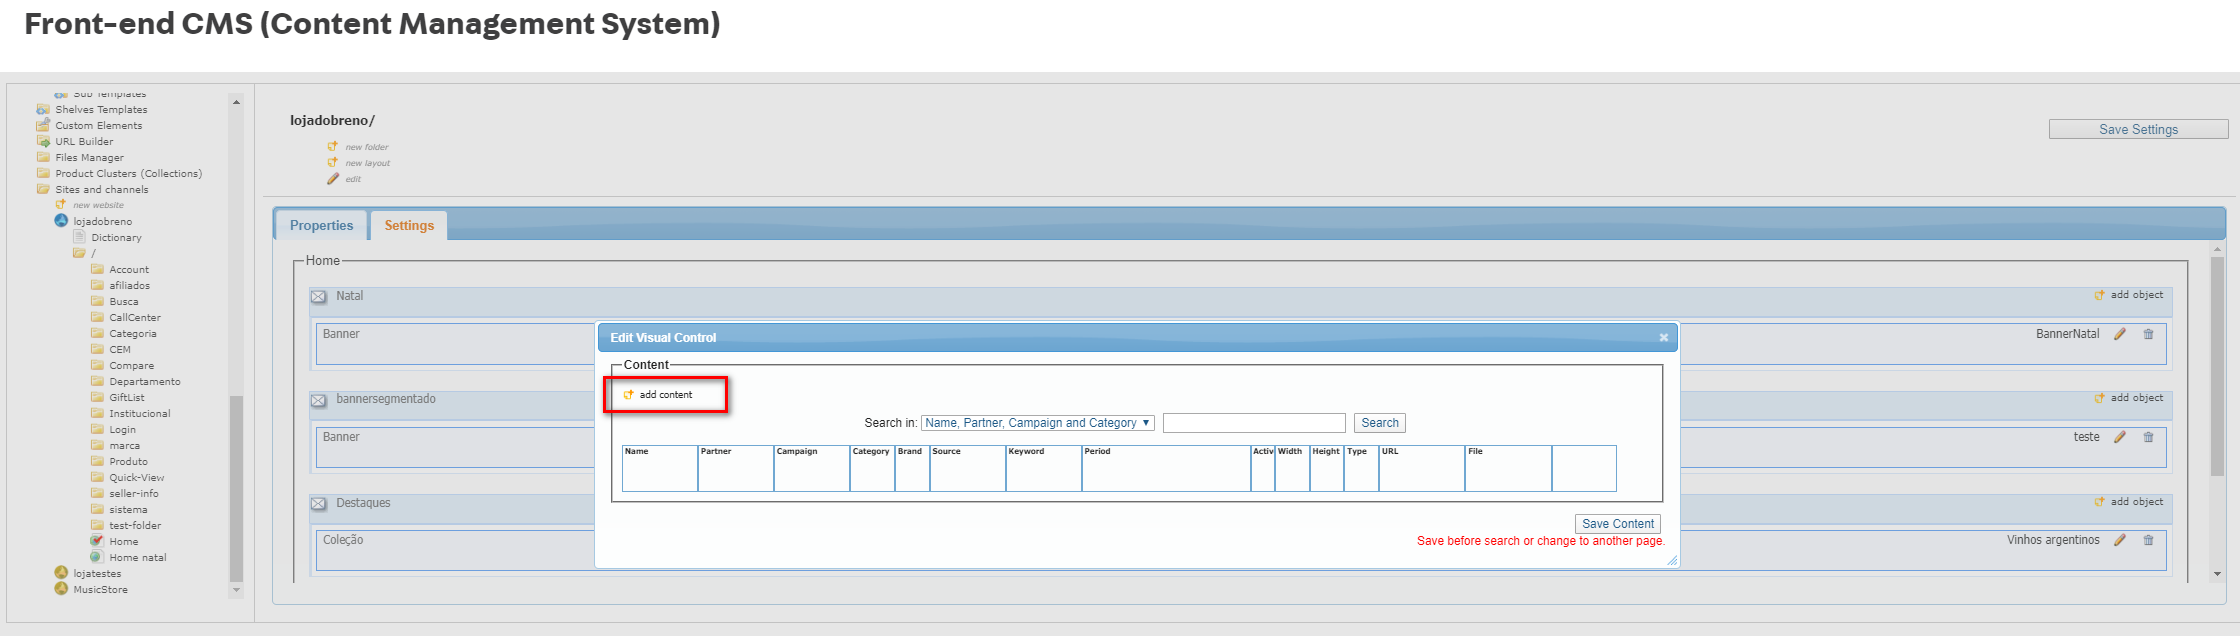
You can now name this object, upload images to it and configure the conditions under which it will be rendered.
At the end, click on the Add Content List button and then save the content.