Changing a banner
2 min read
We will use a banner on the Home Page as an example, but these step-by-step instructions can be used on any page of the site.
- Access the Storefront menu and click Layout.
- Click the CMS folder.
- Click the Sites and Channels folder.
- Click the name of your store.
- Click the "/" folder.
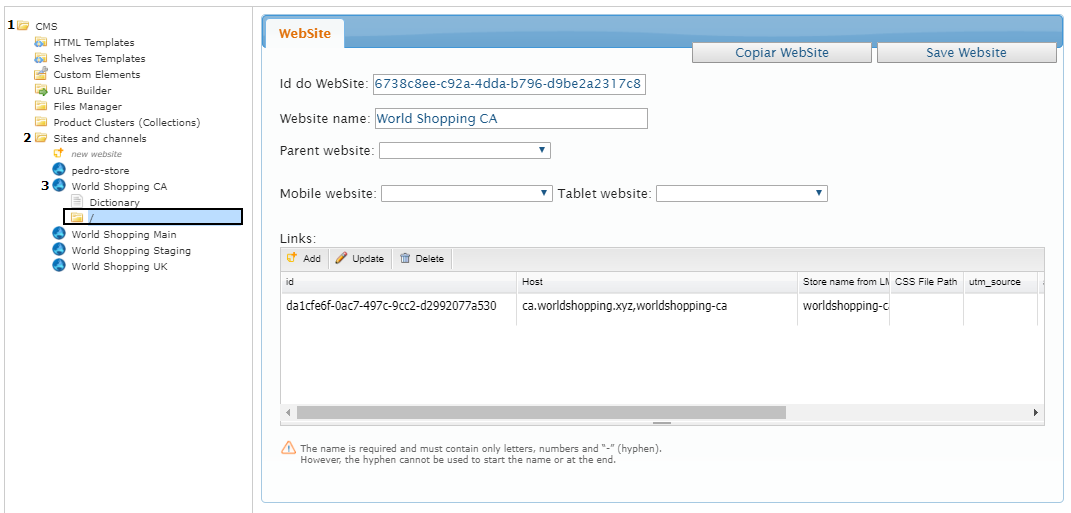
- Click on the Home file.
- Click on the Settings tab.
- Click on the “pencil” for editing.
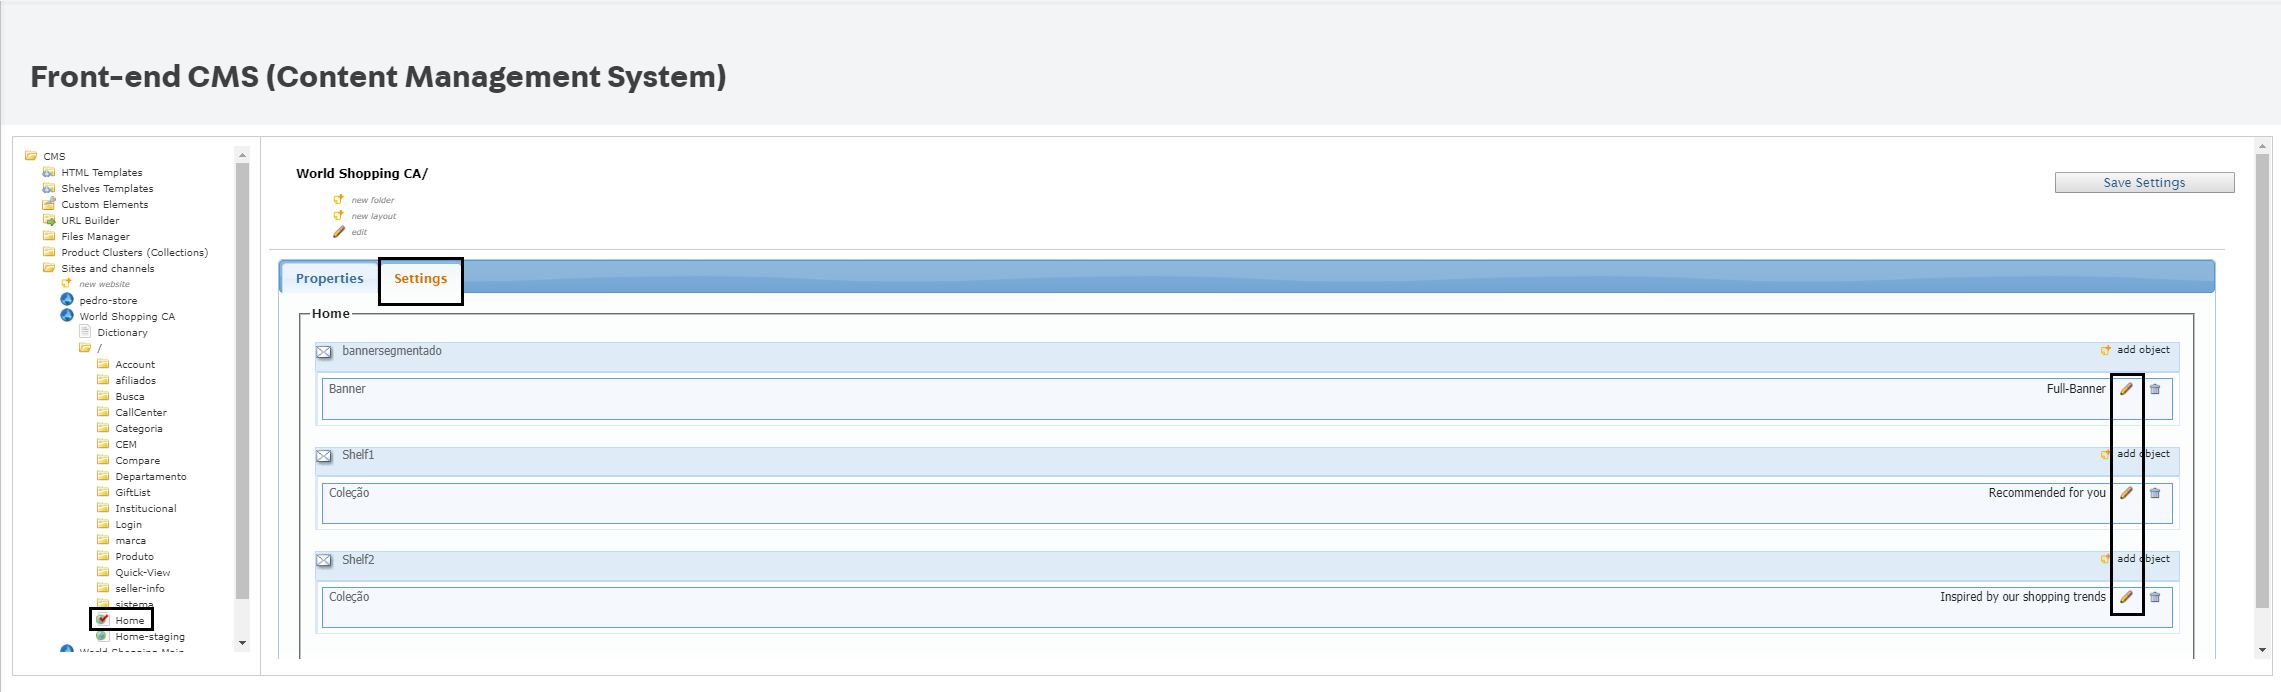
- The banner window will open.
- Click on the pencil that appears on the screen.
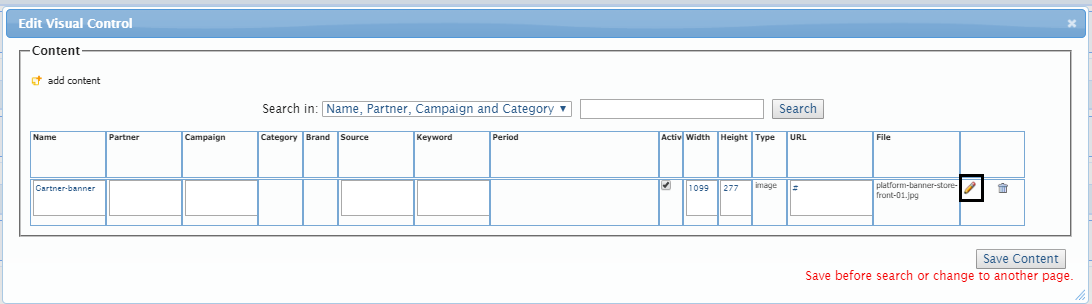
- This will open the banner form.
Change the content of the form:
- Name of content.
- Width of image (1170px).
- Height of banner (500 px).
- File Type: image.
- URL (link to which the customer will be redirected when clicking on the banner).
Change or register the banner image
To make a change or to register a new image, follow the steps bellow:
- Click on Adicionar arquivo (“add file”).
- Click on Localizar ("Find") to select the image.
- After selecting the image on your computer, the Salvar Arquivo ("save file") option will appear. attention: for a successful upload, file name can not be in quotes.
- Click on Adicionar ("add").
- Select Update Content List. 6. Click on option Save Content.
- After making the change, click on Save Settings.
NB: If you go through all the above steps and exit the page without clicking on Save Settings, you will lose the entire banner registration.