On VTEX, you can schedule some features in advance for a special event, such as Black Friday. This helps stores in the planning of events and reduces the risk of errors when creating conditions for an upcoming event.
This article will cover the following topics:
Scheduling prices
To schedule your store's fixed prices for a specific event, follow the steps described in the article Scheduling prices.
Scheduling promotions
You can schedule a promotion while you are creating it. You can schedule all types of VTEX promotions: Regular, Buy Together - Bundle, More for Less, Progressive Discount, Buy One Get One and Campaign Promotion.
To schedule a promotion, follow the steps below:
- Access the Promotions & Taxes module.
- Click on Promotions.
- Click on the
New Promotionbutton. - Click on the type of promotion you want to create.
- In the section Promotion overview, fill in the Expiration date field with the start and end dates and times of the promotion. To schedule the promotion, you need to set a date and time in the future.
- Fill in the remaining fields of the promotion according to your strategy.
- Click on
Save.
See the article Promotion examples for examples of promotions that can be set up on VTEX.
Scheduling taxes
As with the promotion, you can schedule a tax while you are creating it. To schedule a tax, please follow the steps below:
- Access the Promotions & Taxes module.
- Click the Taxes page.
- Click on the
New Taxbutton. - In the section Tax overview, fill in the Expiration date field with the start and end dates and times of the tax validity period. To schedule the tax, you need to set a date and time in the future.
- Fill in the remaining fields of the tax.
- Click on
Save.
Scheduling content
Content scheduling via Site Editor can be done either while creating or editing a block.
Content scheduling is only available for stores developed with VTEX IO.
To schedule content, follow the steps below:
- Access the CMS module.
- Click the Site Editor page.
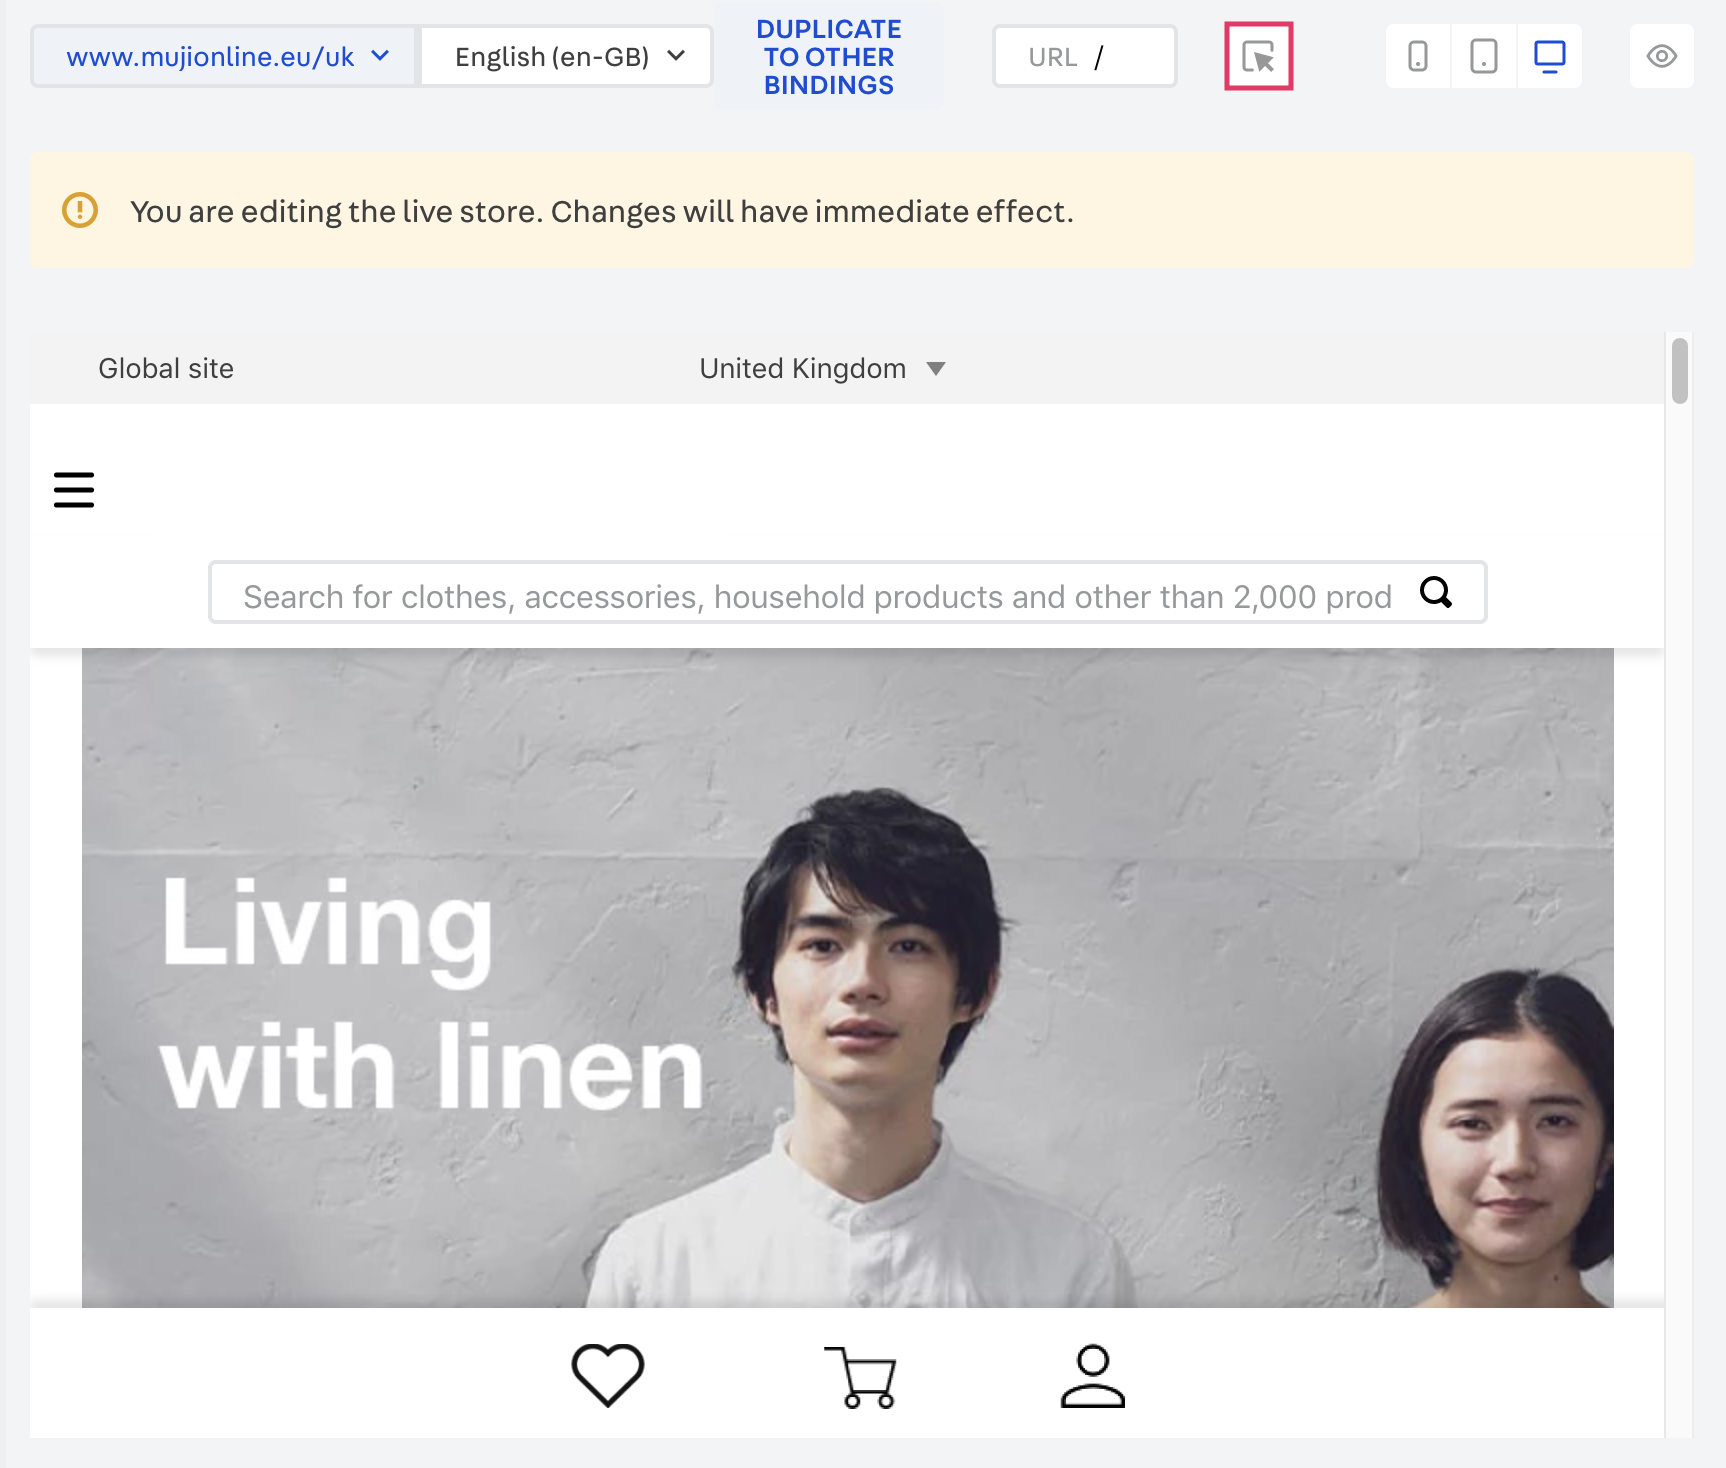
- Use the URL field in the top corner to navigate to the page that displays the block whose content you want to overwrite.
- Select the block for which you want to create new content. You can select it using the list on the right side or the interface:
- Click
Configurationsin the upper right corner. - Click the
New contentbutton. - Use the Custom Date field to schedule the display of the block in your store.
- Set a start date: start date and time of the block display. To schedule the content, you need to set a date and time in the future.
- Set an end date: date and time when the block display ends.
- Fill in the remaining fields according to the settings available for the block.
- Click on
Save.