The purpose of this article is a step-by-step demonstration of how to install the Visa Checkout extension in the VTEX App Store.
First, on the Explore screen, click on the Visa Checkout extension.

You will then have access to the page with the extension details, where the following information is displayed:
- Description: explanation of what the extension does;
- Screenshots: show how the extension modifies your store and your admin;
- Specs: technical specifications of the extension, showing, for example, what version it is in;
- Setup: shows the steps required for installing the extension.
To install the Visa Checkout, just click on the green button to the right of the extension icon.
Permissions
The installation button leads to the permissions screen where one can view all the information and locations to which the extension wishes to have access.
Once you accept the permissions, the extension will be installed.
Setup
For the extension to function correctly you need to complete a setup phase. Just fill out the fields as shown in the diagram below and click on Criar conta.
Preview
You should then see a successful installation message.
In addition, the VTEX App Store displays a preview environment of the Visa Checkout, where you can test whether the extension functions.
This environment functions as a draft. No changes made to it affect your store in the production environment.
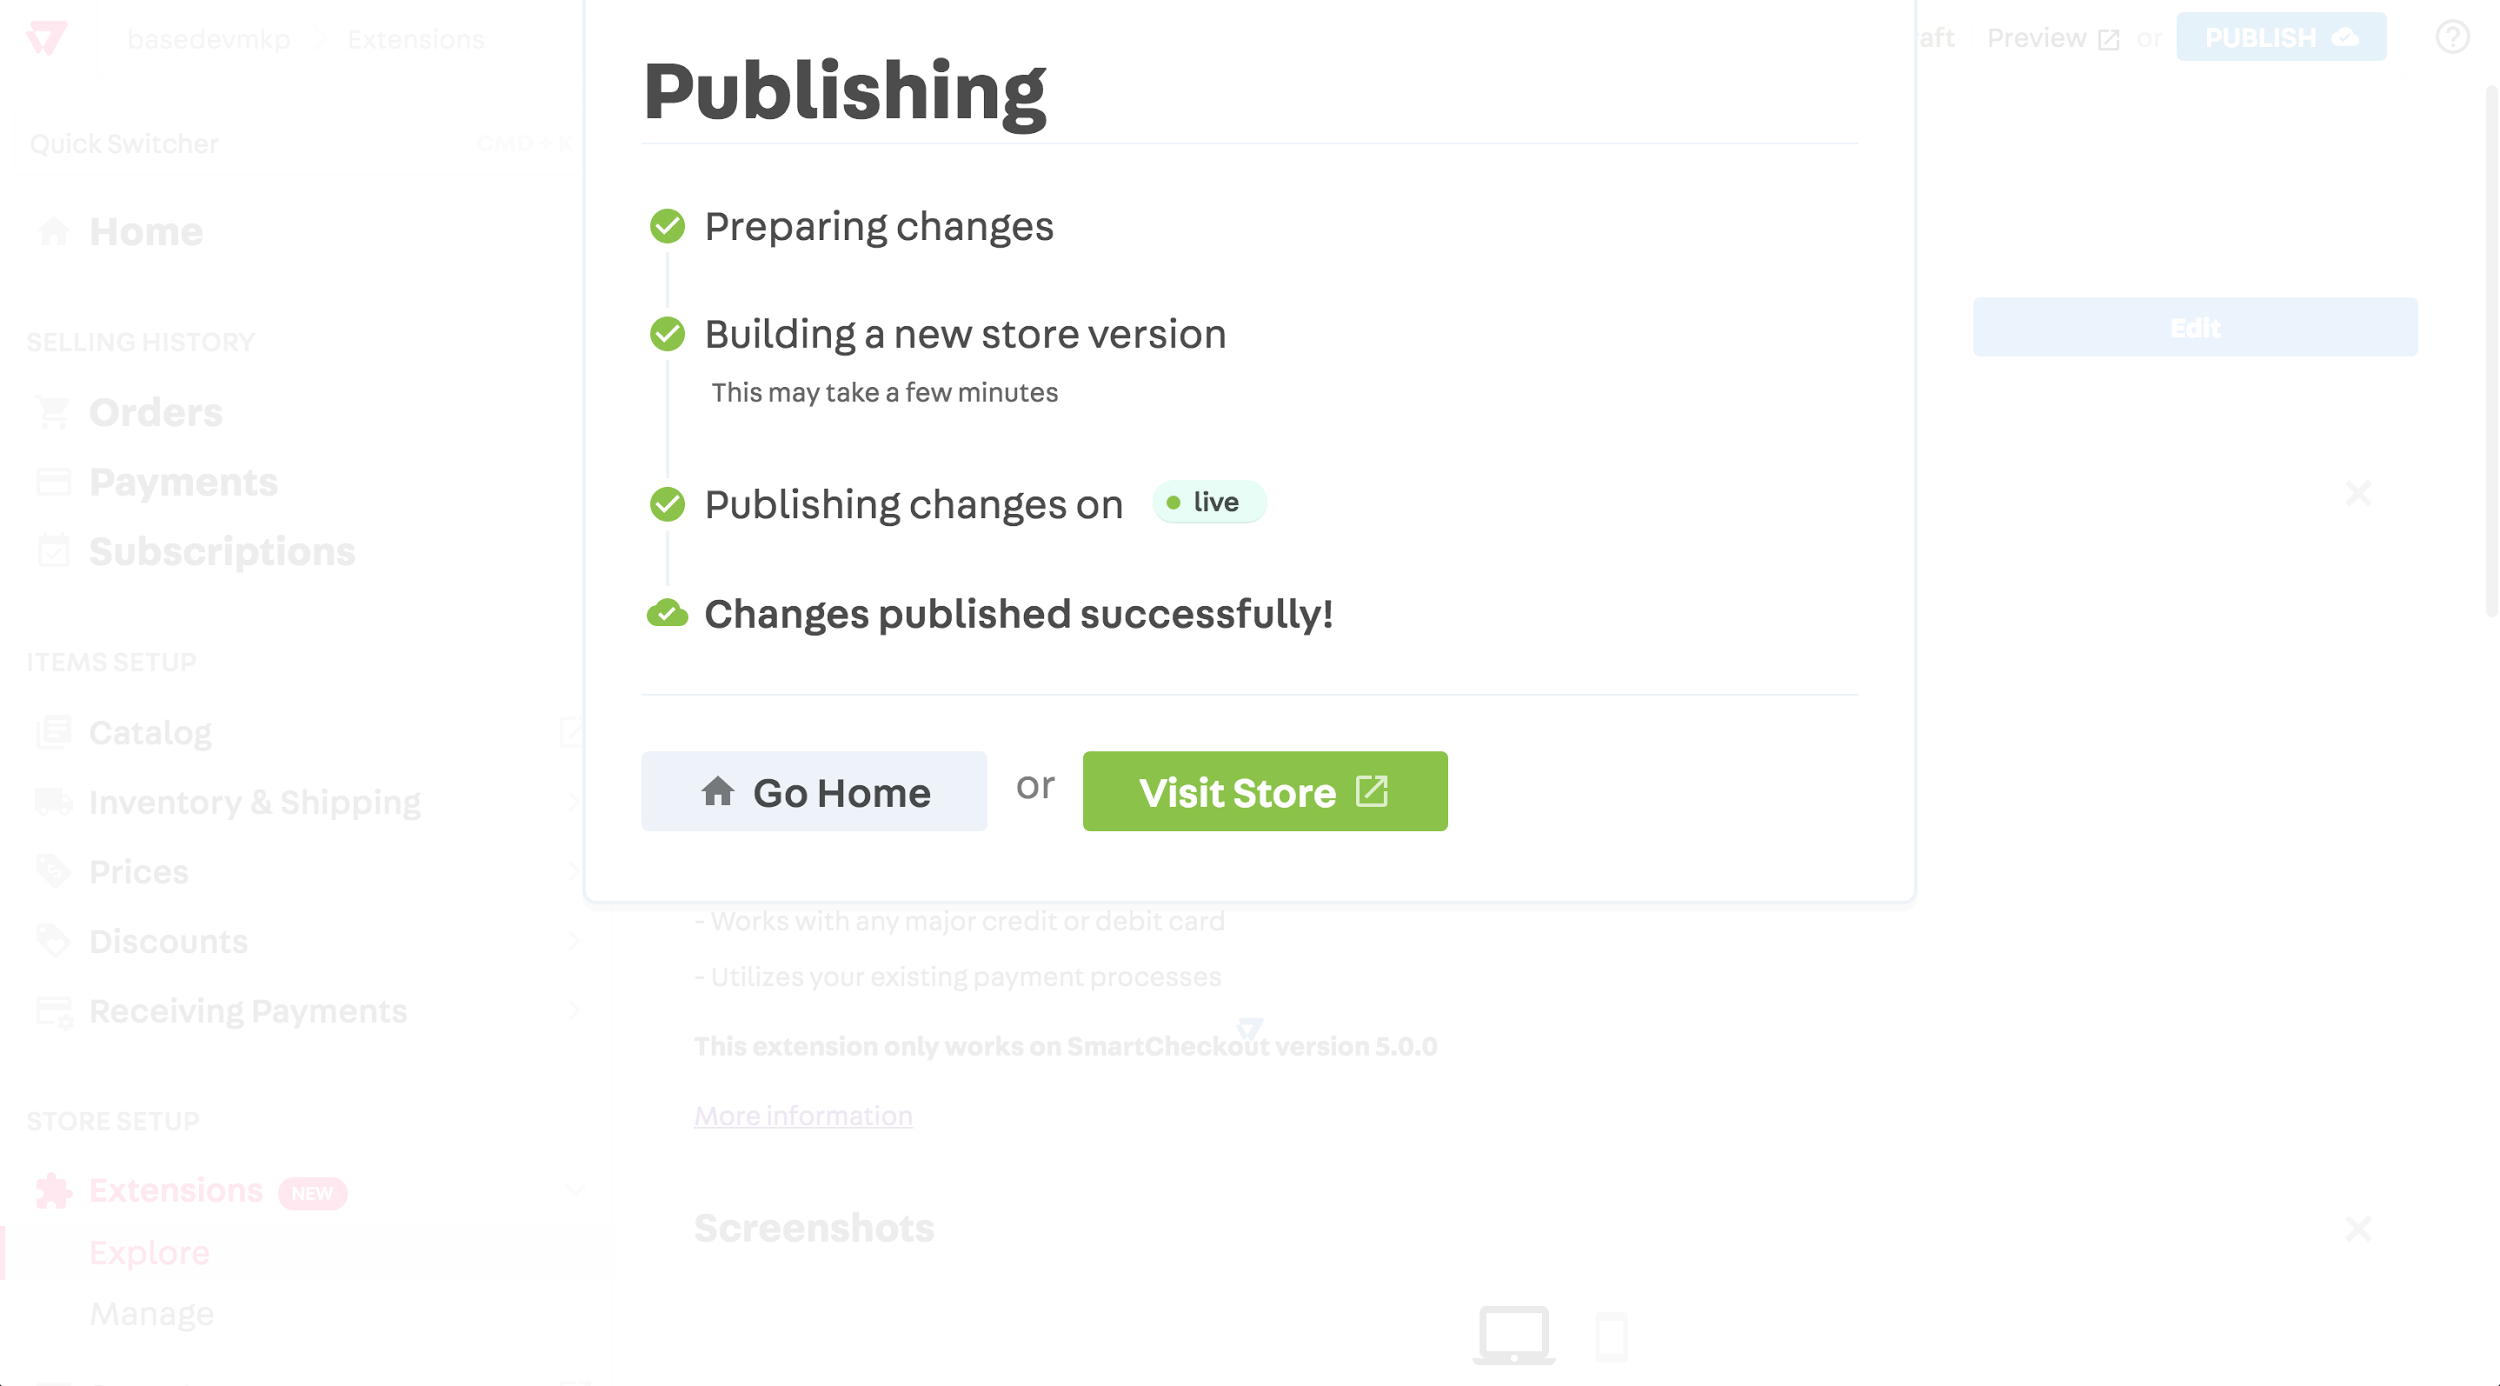
Publication
To move the Visa Checkout to the production environment (where you customers can in fact use it), you need to publish the modification.
To do this, just click on the Publish button of the top bar.